Leaky taps are not just a nuisance; they can lead to significant water wastage and inflated utility bills. Often, these seemingly minor leaks can escalate into major plumbing issues if left unaddressed. Fortunately, many common water leaks in homes can be fixed with simple DIY solutions, saving you time and money in the long run. By learning basic handyman skills and understanding how to identify and repair these leaks, you can take proactive steps to maintain your home and prevent water-related damage. In this blog post, we'll explore some of the most common types of water leaks found in households and provide practical tips and techniques for resolving them effectively. Whether it's a dripping faucet, a leaking toilet, or a faulty showerhead, you'll discover how to tackle these issues with confidence and restore your plumbing system to optimal condition.
 |
| Image Credit : Goldbathroom.co.uk |
I recently stumbled upon a wealth of valuable insights on Basin taps guide gold bathroom uk , where I discovered a trove of practical information pertaining to styles and types of taps . This invaluable resource provided me with a deeper understanding of taps , offering actionable tips and solutions that have greatly enhanced my knowledge and expertise in this area. In light of this, I'm attaching some of the invaluable information gleaned from that source to further enrich our discussion on taps.
Different Types of Taps
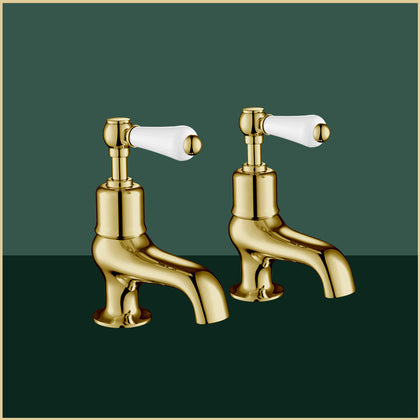
1. Pillar Taps: Traditional And Timeless
 |
| Image Credit : Goldbathroom.uk |
Pillar Taps, Also Known As Individual Taps, Are The Classic Choice For Basins. They Feature Separate Taps For Hot And Cold Water, Mounted On The Basin's Deck Or Counter-top . These Taps Suit Both Traditional And Contemporary Settings, Offering A Timeless Design.
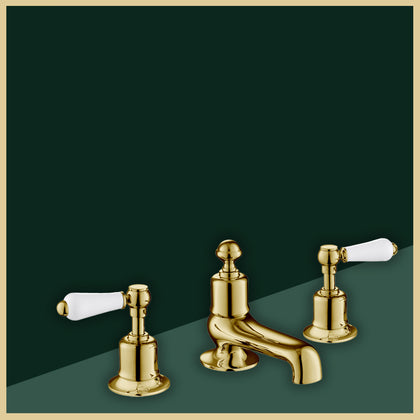
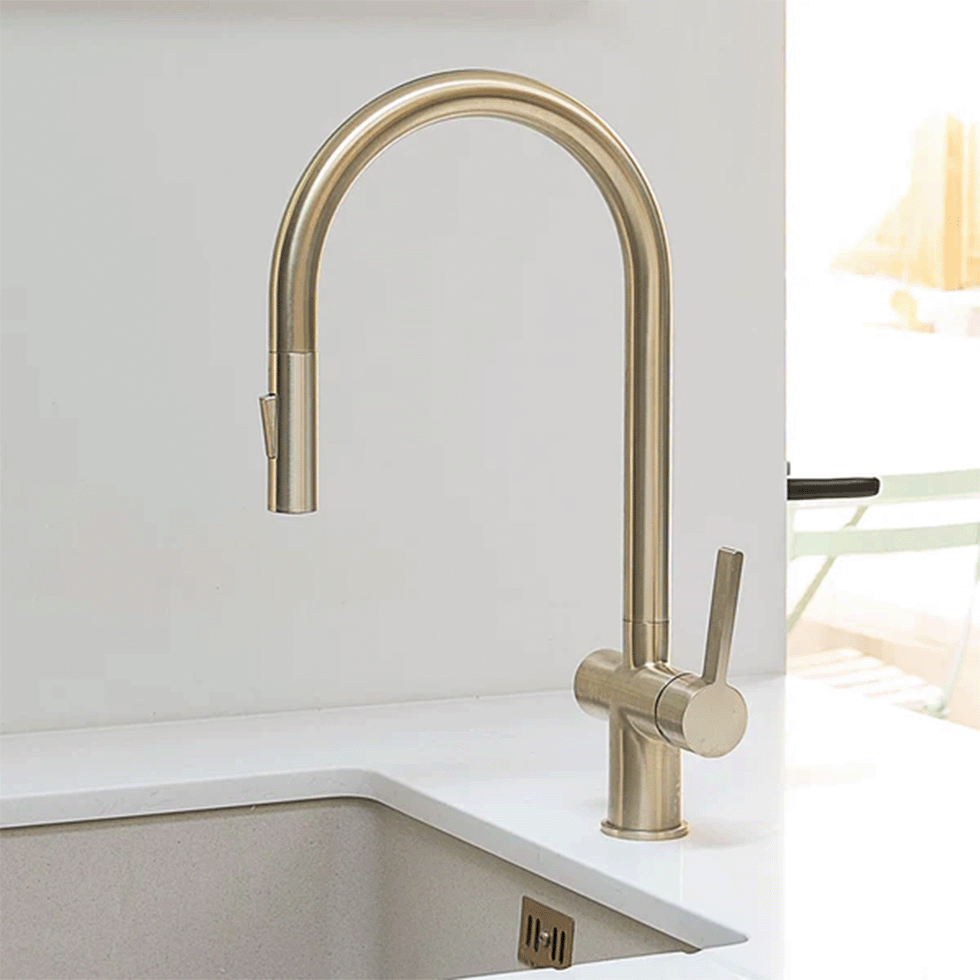
2. Mixer Taps: Blending Hot And Cold With Style
 |
| Image Credit : Goldbathroom.uk |
Mixer Taps Combine Hot And Cold Water Within A Single Unit. This Design, Which Often Includes A Single Lever Or Handle, Simplifies Operation And Saves Space, Making Them Ideal For Smaller Areas.
3. Monobloc Taps, Modern Elegance

Monobloc Taps, Or Single-Hole Taps, Offer A Sleek, Minimalistic Design. They Merge Hot And Cold Water Controls Into One Unit, Often With A Single Lever, And Are A Popular Choice For Modern Interiors.
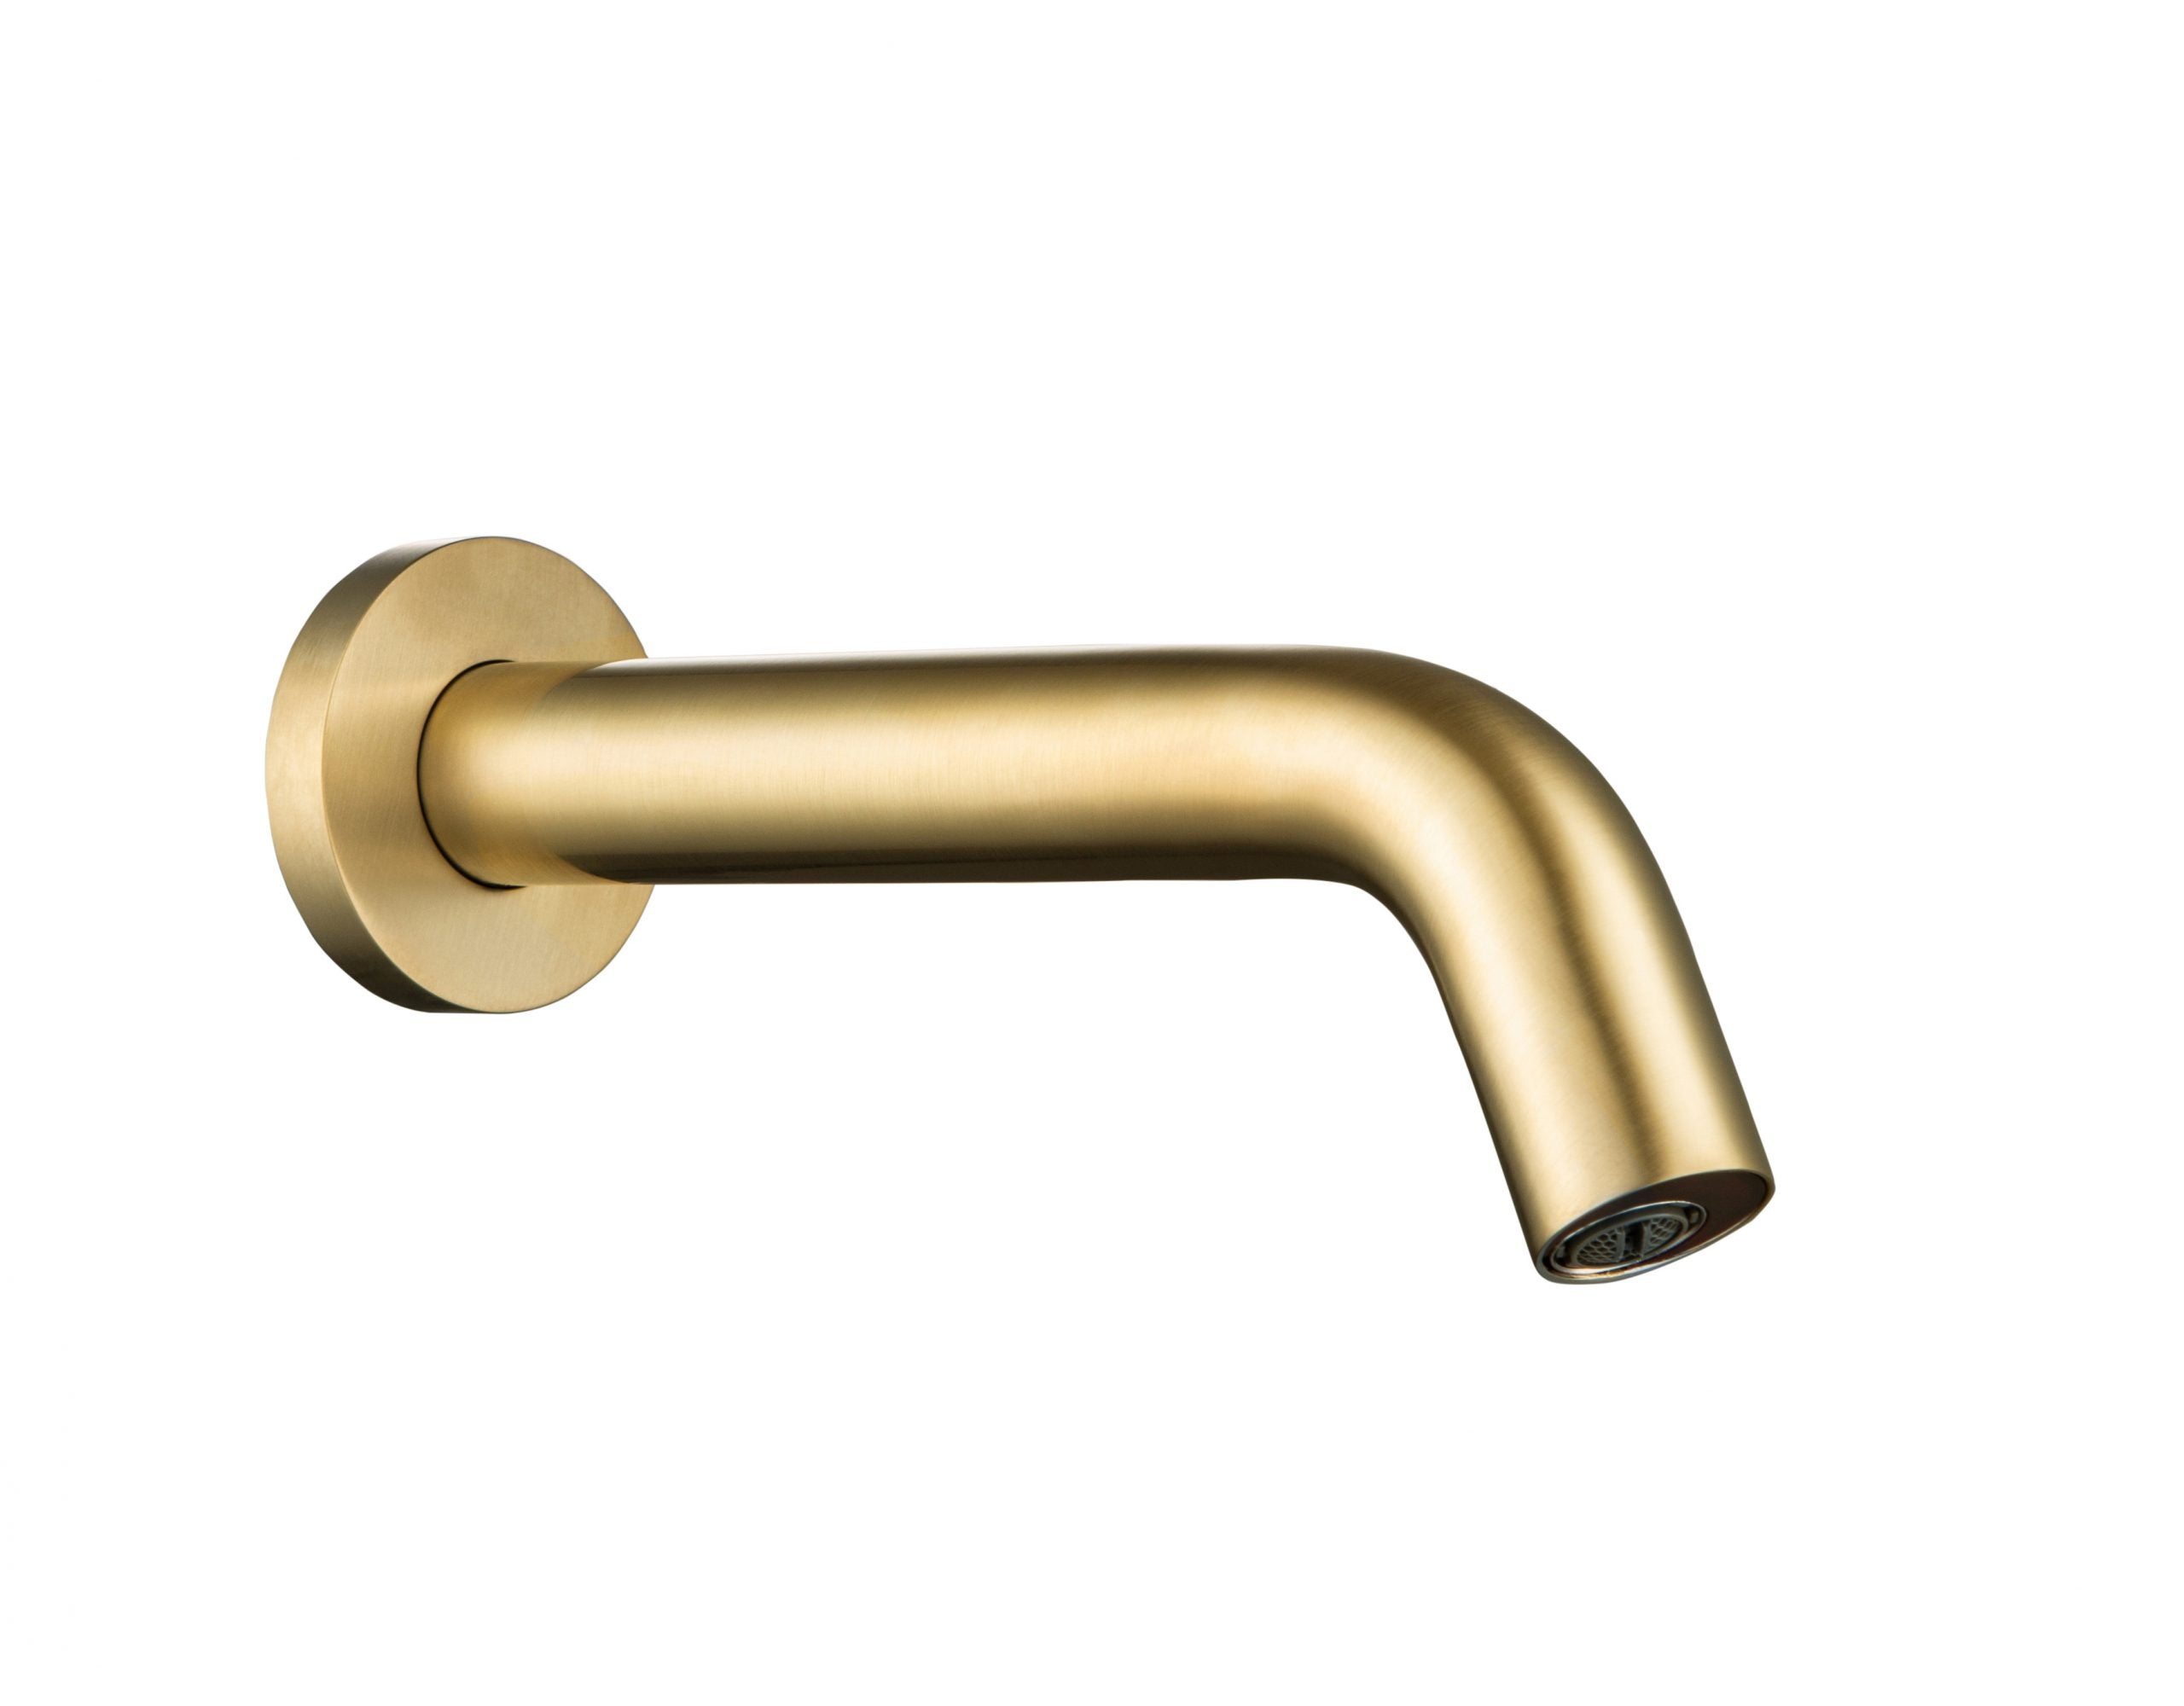
4. Wall-Mounted Taps: Space-Saving Elegance
Wall-Mounted Taps, Fixed Above The Basin, Offer A Unique And Space-Efficient Design. They Provide Flexibility In Basin Design And Create A Striking Focal Point In Your Bathroom Or Kitchen.
5. Waterfall Taps: A Touch Of Luxury
Waterfall Taps Produce A Waterfall-Like Water Flow, Adding A Luxurious And Tranquil Feel To Your Basin Area. Available In Various Styles, They Can Infuse Opulence Into Any Space.
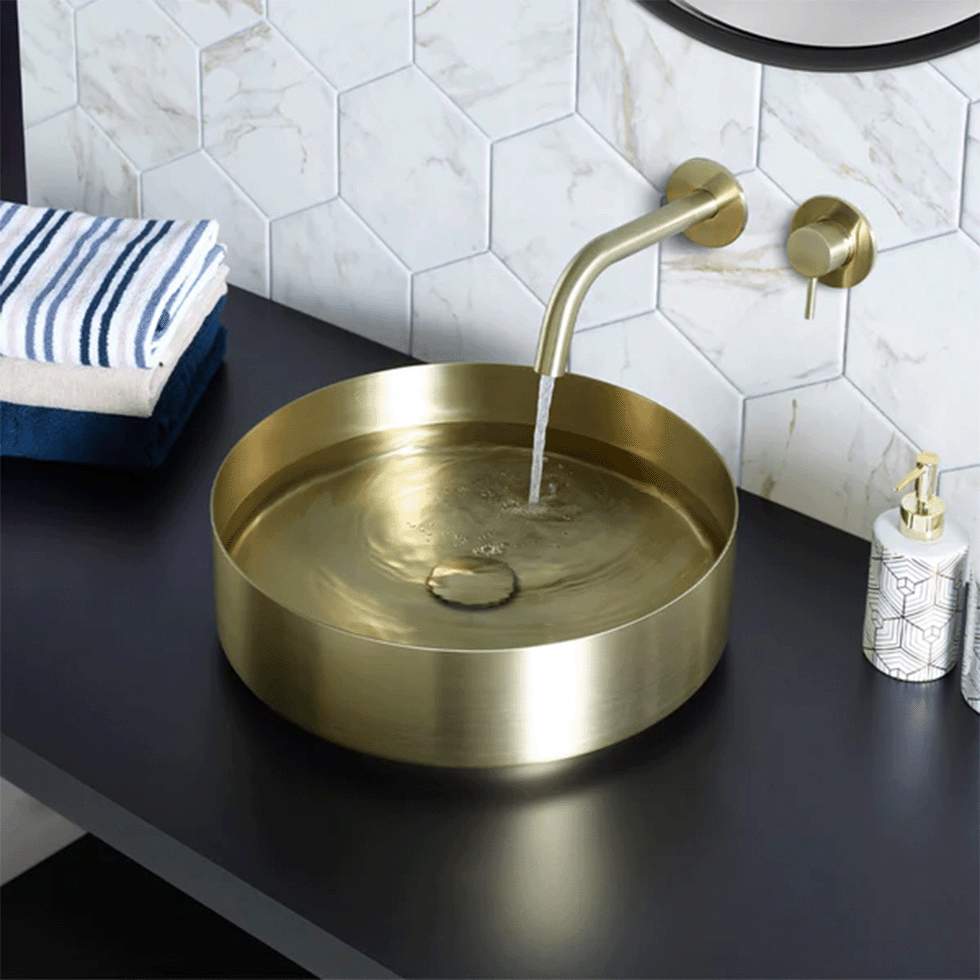
6. Sensor Taps: Touchless Convenience
 |
| Image Credit : Goldbathroom.uk |
Sensor Taps Use Infrared Sensors To Detect Hand Presence And Automatically Activate Water Flow. They Offer Hygiene And Convenience, Making Them Ideal For Public Restrooms And Healthcare Facilities.
7. Vintage And Retro Taps: Nostalgic Charm
Vintage And Retro Taps Bring A Nostalgic Charm To Your Space. From Victorian-Inspire.
Your Ultimate Guide to Fixing a Leaking Faucet
- Begin by shutting off the main water supply to prevent further mess and water wastage.
- Remove the knobs from the cabinet, detaching any decorative parts with a flat-head screwdriver.
- Apply lubrication to loosen the faucet handle and extract the stem using a wrench.
- Inspect the area for damage, focusing on O-rings and washers, and replace any worn or damaged parts.
- Reassemble the faucet components securely, ensuring proper installation.
- Turn the water supply back on and test the faucet's functionality to verify that it operates smoothly without any leaks or malfunctions.
- Clean the area thoroughly to remove any debris or buildup that may affect the faucet's performance.
- Check the surrounding plumbing connections for any signs of leaks or damage, tightening or repairing as needed.
- Consider installing a drip tray or mat under the faucet to catch any future leaks and prevent water damage to the surrounding area.
- Keep an eye on the faucet over the next few days to ensure that the repair holds up and there are no recurring issues.
- If the problem persists or worsens, seek professional assistance to address any underlying issues with the plumbing system.

How to replace a ceramic Disc Tap
Replacing a ceramic disc tap is a straightforward process that can be done with basic tools and a little know-how. Here's a step-by-step guide to help you get the job done efficiently:
1. Preparation : Begin by turning off the water supply to the tap. This can usually be done by locating the shut-off valve under the sink or near the water meter.
2. Disassembly : Carefully unscrew the handles of the tap to expose the inner components. Remove any decorative pieces or covers to access the cartridge housing.
3. Accessing the Cartridge : Look for small grub screws beneath the temperature indicators (hot or cold) that may be covering the entrance screw. Use a flat-head screwdriver to remove these screws and access the cartridge.
4. Removing the Cartridge : Once you've accessed the cartridge, use an adjustable spanner to remove the ceramic disc and shroud. Inspect the cartridge for any signs of damage, such as cracks or wear, and replace it if necessary.
5. Replacing Parts : Remove the cartridges from the machine and identify which ones are for hot and cold water. Replace any damaged parts, including ceramic discs, shrouds, washers, and rubber seals.
6. Inspecting Washers : Check the washers for any signs of damage or wear and replace them if necessary. Worn-out rubber seals should also be replaced to ensure a proper seal.
7. Assembly : Once all damaged parts have been replaced, carefully reassemble the tap. Ensure that all replacement parts are the correct dimensions and fit snugly into place.
8. Testing : Before turning the water supply back on, turn the knob gently to ensure that everything is properly assembled and aligned. This will prevent any leaks or malfunctions once the water is turned back on.
9. Restoration : Once everything is back in place, gently turn the knob to restore water flow. Check for any leaks or drips, and make any necessary adjustments to ensure a tight seal.
 |
| Image Credit : Goldbathroom.uk |
In addition to fixing common water leaks in your home, you may also find useful tips on replacing basin taps in UK bathrooms. I recently came across a comprehensive guide https://goldbathroom.uk/blogs/news/how-to-replace-basin-taps , which offers valuable insights into this topic. You can check it out for more detailed information.
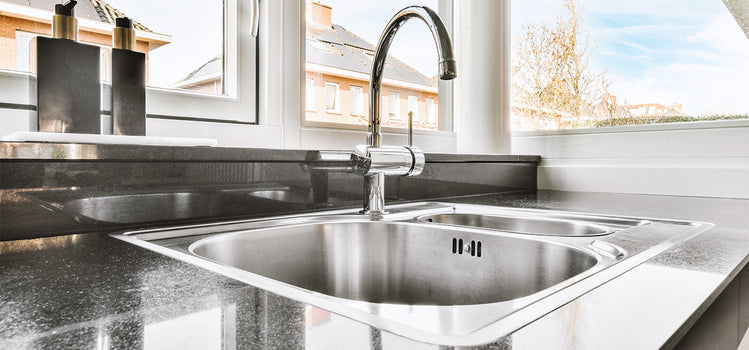
Leaking Kitchen Taps & Showerheads


Similarly, showerheads may develop leaks at various connection points, including the junction between the showerhead body and arm, as well as the swivel bar. To address these leaks effectively, consider replacing your shower tap with durable brass taps featuring chromium plating. This upgrade can enhance durability and longevity while minimizing the risk of future leaks.
Regular maintenance and proper installation are key to preventing leaks in both kitchen taps and showerheads. Be sure to use high-quality replacement parts and avoid over-tightening or forcing components during installation. By addressing leaks promptly and investing in quality fixtures, you can enjoy reliable performance and water savings for years to come.


No comments:
Post a Comment